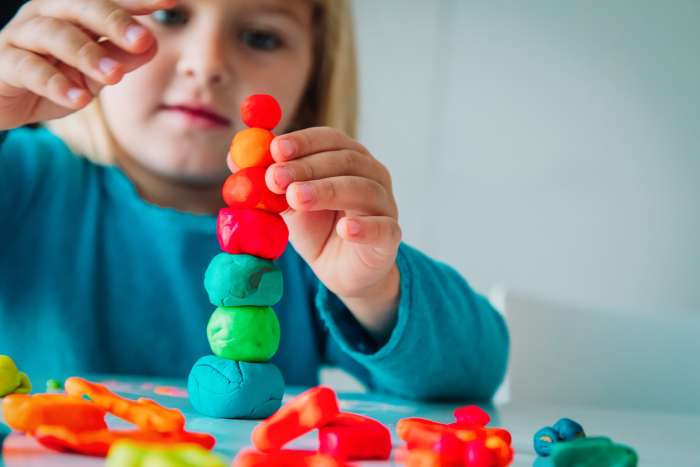
Experimenting with homemade clay can be more than just a fun activity to keep the kids busy. Studies have shown that when you knead, roll, shape and create with clay, you experience tactile satisfaction and can become calm and relaxed as you work with it. Working with clay is also a great way to get everyone in your home to slow down for a little while and focus on being creative. You can make Christmas ornaments, Easter bunnies, Halloween witches and ghosts, or any other fun things your family will enjoy. Use cookie cutters, which you can buy at crafts stores or order on Amazon, to cut out shapes that you can decorate with food coloring, glitter, or other decorative products.
Craft projects are something the whole family can enjoy, and whether you play around for fun or create a keepsake that you'll treasure for years to come, working with homemade clay is a good way to spend an afternoon with the kids away from screens. Once your kids try working with clay, they'll want to do it all the time.
Use the following recipes to make modeling clay or other types of clay for kids' crafts or teens' entertainment that can be rolled or shaped into figures. Some clays should be let to air dry overnight, while others are best baked in an oven. When hardened, sculptures can be decorated and preserved with acrylic paint or a varnish finish. Dig in and enjoy the creative process of making something special with your DIY clay.
These clay recipes can easily be made at home and will provide hours of fun for your child. (And if you want to take it to the next level and make your own play dough, check out our video!)
1. Modeling Clay
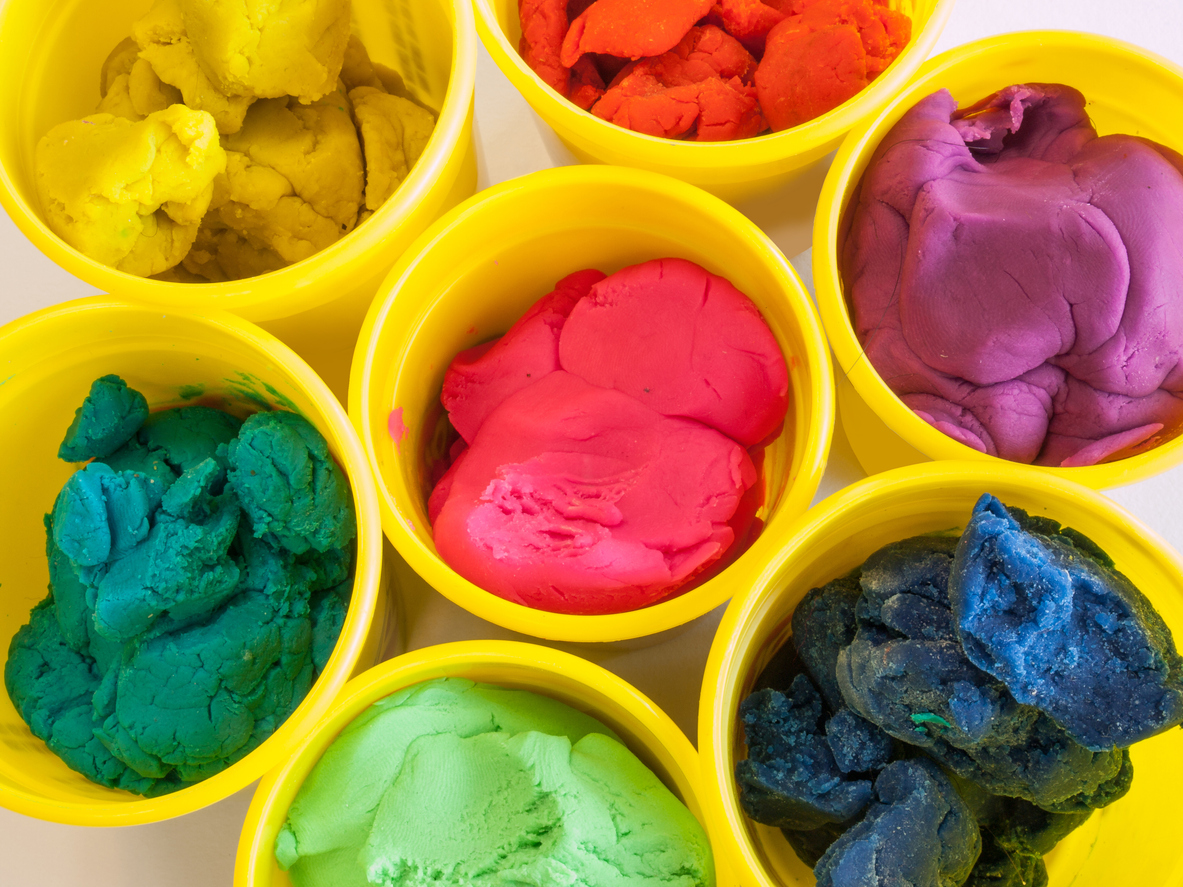
Modeling clay is a flexible, moldable material and may be very long-lasting, depending on how it's preserved. Making modeling clay is an easy DIY project that even the youngest children in the house can participate in, which will give them the experience of creating something from start to finish.
Handprint Shirt
Handprint ShirtIn this craft activity, children decorate a shirt with hand prints.Materials Read More
Materials:
- 2 cups salt
- 2/3 cups water
- Saucepan
- 1 cup cornstarch
- 1/2 cup cold water
Directions:
- Stir salt and water in a saucepan over heat for 4-5 minutes.
- Remove from heat; add cornstarch and cold water.
- Stir until smooth; return to heat and cook until thick.
- Allow the homemade clay to cool, then shape as desired.
- When dry, decorate with acrylic paint, markers, glitter, and so on.
- If you like, finish with clear acrylic spray or clear nail varnish.
- Store unused clay in a plastic bag or plastic wrap.
2. Bread Clay

Bread clay is the best choice for creating objects that will be used often, like necklace beads, handprints, and small figurines. Your kids will enjoy mashing up the bread and adding gooey ingredients like white glue, PVA glue, or basic school glue, to make the clay. It may be messy, but it's lots of fun and the process provides a far more sensory experience than simply using store-bought clay.
Materials:
- 6 slices white bread, crusts removed
- 6 tablespoons white glue
- 1/2 teaspoon detergent or 2 teaspoons glycerine
- Food coloring
- Paintbrush
- Equal parts white glue and cold water
- Acrylic paint or spray or clear nail polish
Directions:
- Knead bread with white glue, plus detergent or glycerine, until the mixture is no longer sticky.
- Separate into portions and tint with food coloring.
- Let your child shape the clay.
- Brush the sculpture with equal parts glue and cold water for a smooth appearance.
- Let dry overnight.
- Use acrylic paints or spray or clear nail polish to seal and preserve.
3. Baker's Clay
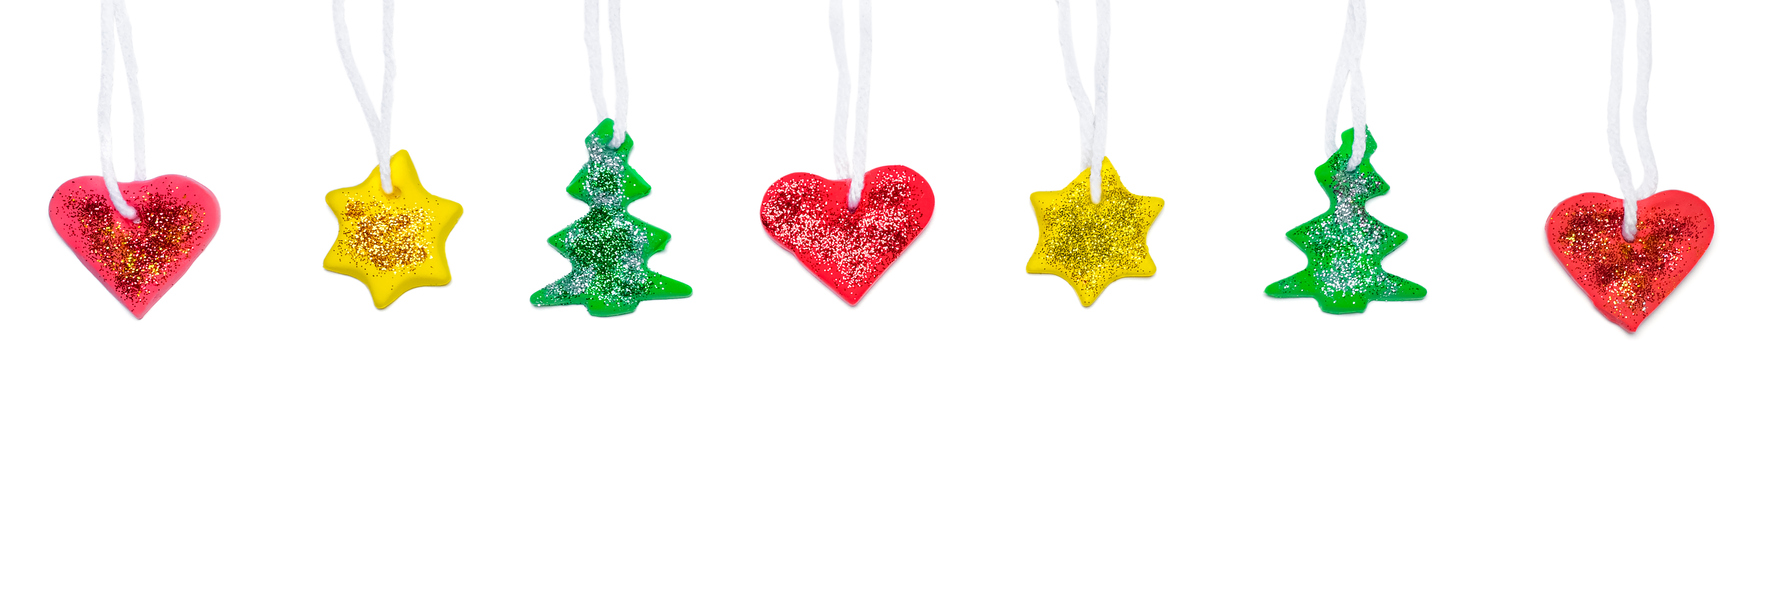
Use baker's clay to create hanging ornaments for Christmas trees, Halloween wreaths, or Easter baskets. You can use the baker's clay homemade clay recipe to create small animals or other creatures too. This is an air dry clay recipe so it’s hassle-free.
Materials:
- 4 cups flour
- 1 cup salt
- 1 teaspoon alum
- 1 1/2 cups water
- Food coloring (optional)
- Large bowl
- Cookie cutters, drinking straw, and fine wire (optional)
- Baking sheet
- Fine sandpaper
- Plastic-based poster paint, acrylic paint, or markers
- Clear shellac, varnish, acrylic spray, or nail polish
Directions:
- Mix flour, salt, alum, and water in a bowl. If the dough is too dry, knead in another tablespoon of water.
- The dough can be colored by dividing it into several parts and kneading a few drops of food coloring into each part.
- Roll or mold into ornaments.
- To roll: Roll dough 1/8 inch thick on a lightly floured surface. Cut with cookie cutters dipped in flour. Make a hole for hanging by dipping the end of a drinking straw in flour and using the straw to cut a tiny circle 1/4 inch from the ornament's edge. You can also use the straw to cut more clay dots for use as decorations.
- To mold: Shape dough into figures such as flowers, fruits, animals, and so on. The figures should be no more than 1/2 inch thick.
- Insert thin wire into ornaments for hanging.
- Bake ornaments on an ungreased baking sheet for about 30 minutes at 250ºF.
- Turn and bake for another 90 minutes until hard and dry.
- Remove from oven and cool to room temperature, then smooth with fine sandpaper.
- Decorate both sides of the ornaments with plastic-based poster paint, acrylic paint, or markers.
- Let dry and seal with clear shellac, varnish, acrylic spray, or nail polish.
Makes about five dozen 21/2-inch ornaments.
4. No-Bake Clay
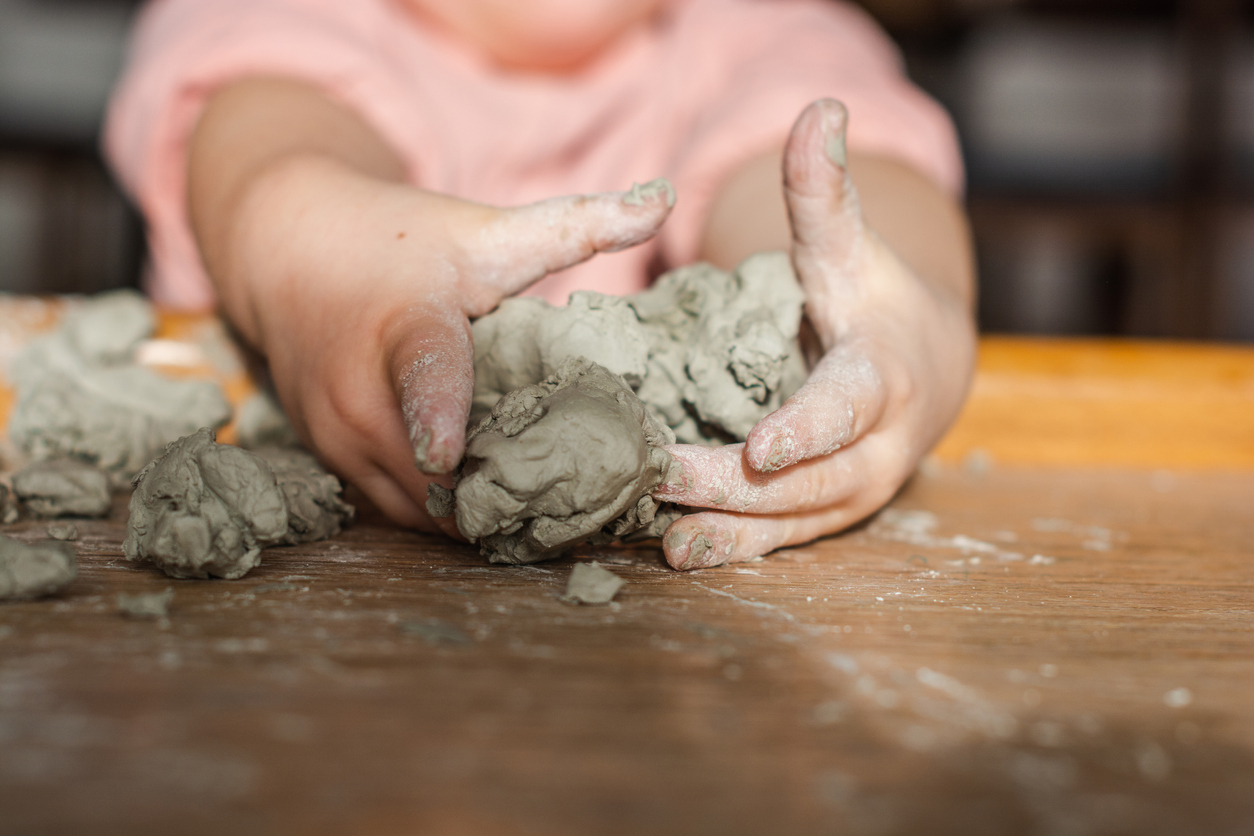
This is a completely safe DIY recipe that any child can use – you won't have to worry about little ones putting things in their mouths since it's all-natural and consists of cornstarch and baking soda mixed with water. You can store any leftover clay in plastic wrap or plastic bags to use another day.
Materials:
- 1 cup cornstarch
- 1 1/4 cups cold water
- 2 cups baking soda (1 pound)
- Saucepan
- Food coloring (optional)
- Plate
- Damp cloth
- Tempera or acrylic paints (optional)
- Clear shellac, acrylic spray, or nail polish
Directions:
- Combine cornstarch, water, and baking soda in a saucepan; stir over medium heat for about 4 minutes until mixture thickens to a moist mashed-potato consistency. (For colored clay, add a few drops of food coloring to the water before it is mixed with cornstarch and baking soda).
- Remove from heat, turn onto a plate, and cover with a damp cloth until cool.
- Knead the DIY mixture until smooth.
- Shape as desired or store in an airtight container, plastic wrap, or Ziploc bag.
- Air dry sculptures overnight, then paint with tempera or acrylic paints.
- Seal with shellac, varnish, acrylic spray, or nail polish.
5. No-Bake Cookie Clay

No-bake cookie clay is another great choice for toddlers and small kids since it's completely non-toxic – but remind your kids that it’s not for eating. This DIY clay is made with only water, salt and cornstarch.
Materials:
- 2 cups salt
- 2/3 cup water
- Medium saucepan
- 1 cup cornstarch
- 1/2 cup cold water
- Rolling pin
- Cookie cutters
- Drinking straw
- Paint, glitter, and other decorative materials
Directions:
- Mix salt with 2/3 cup water in a saucepan.
- Stir and boil until salt dissolves.
- Remove from heat. Add cornstarch and 1/2 cup cold water and stir. If the mixture doesn't immediately thicken, heat and stir until it does.
- Sprinkle cornstarch on the table and the rolling pin.
- Roll out the clay and cut with cookie cutters. Use a straw to make holes for hanging.
- Let dry overnight and decorate with paint and glitter, then varnish.
Want to learn more? If your child wants to take their clay-making skills to the next level, there are plenty of video tutorials they can watch online. Depending on your child’s age, you could also sign them up for ceramics or sculpting classes to help turn their own clay-making skills into a real art form.

